A Portable Window Studio: A Simple Natural-Light Setup for Quiet Still-Life Photos
Opening observation: when I want to make quiet, deliberate still-life pictures at home I don’t need a full studio—just one reliable patch of window light and a setup I can rebuild in ten minutes. The question I set out to answer in this studio note was simple: how to make a small, portable window studio that encourages a short, repeatable routine and clearer review, so the practice becomes a steady habit rather than a rare project?
1. Site, constraints, and the question
Start by naming constraints. A portable window studio thrives on limits: a single window (north- or east-facing is forgiving), a narrow table or board you can move, and a modest budget. The constraint forces decisions about composition, light direction, and subject scale. The practical question becomes: what small set of conditions will I return to weekly and still learn from?
- Light: steady, soft daylight is easier to control. Note how the light changes through the morning and afternoon and pick a regular time to work.
- Space: 40–70 cm of table depth is enough for cups, small plants, and folded fabrics.
- Transportability: the whole kit should be easy to move if you need to change windows.
2. Materials and assembly: a small kit
Collect a pared-down kit that fits the constraints and supports quick rebuilds. The goal is to lower friction—everything should live together in a basket or tote.
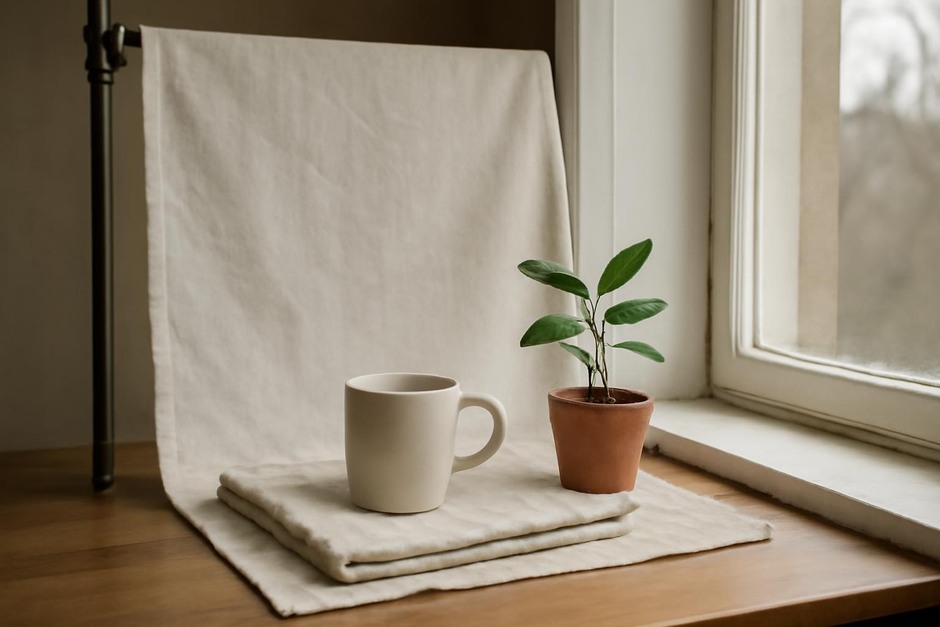
- Base surfaces: one small wooden board or tray and one neutral fabric (linen or cotton). The board gives edge and texture; the fabric provides soft backgrounds.
- Reflector/diffuser: a folded white foam core or a translucent shower curtain square. Use the diffuser to soften harsh light and the reflector to lift shadows on the shadow side.
- Small stands: a stackable box or two books to vary height; a small clamp if you want to hold a stem or card in place.
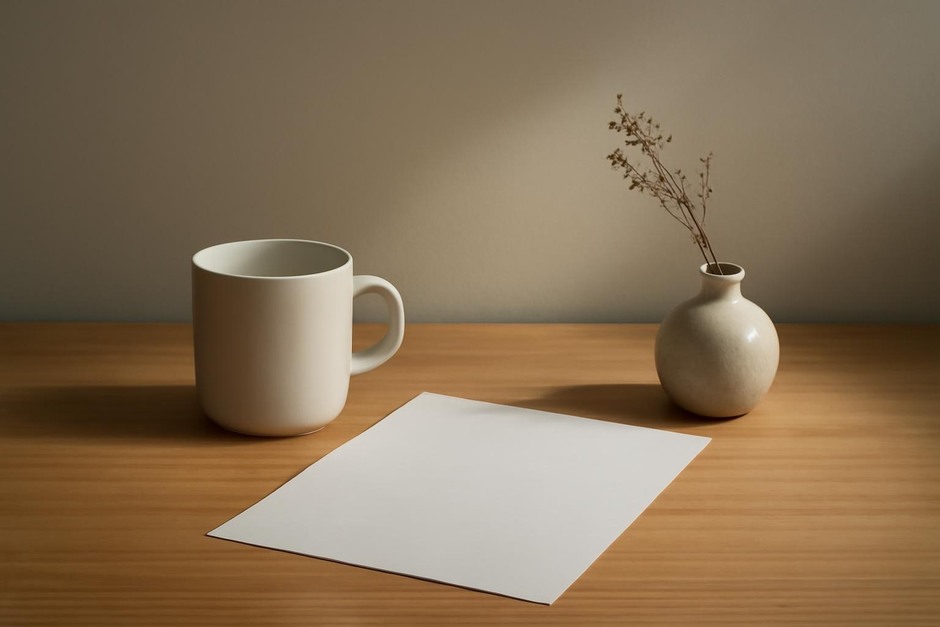
- Subjects: a favorite mug, a small plant or cutting, a few folded papers or envelopes, and one object with texture (wood, ceramic, dried leaf).
- Camera: anything—phone, mirrorless, DSLR—mounted on a tabletop tripod or handheld depending on taste.
Assembly process: place the board perpendicular to the window, lay the fabric at a slight angle to create a leading line, position the subject where the light grazes its surface, and use the reflector opposite the window to lift shadows as needed. Keep the background spare.
3. A four-step shooting routine
Turn the shoot into a habit with a concise routine that fits a 20–30 minute session. Repetition is what trains perception.
- One test frame: arrive, set the kit, take a single test exposure to see how the light reads. Note the time and any immediate mood (soft, contrasty, cool).
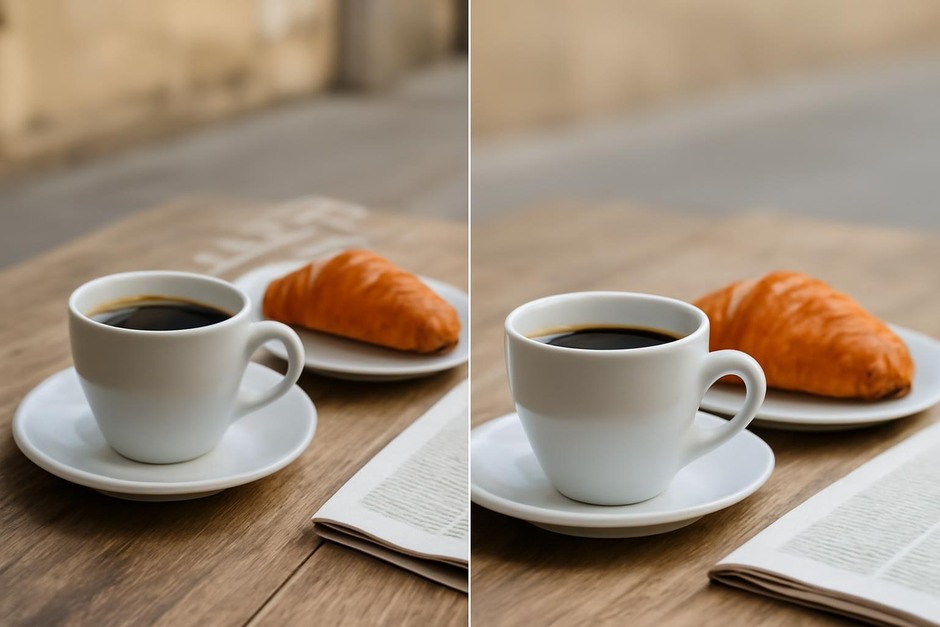
- Three compositions: make three intentional frames: one wide to show context, one mid to emphasize form, one close for texture. Change only one element between them—move the mug two inches or rotate the plant stem.
- Two lighting variations: for one of the compositions, add the reflector; for another, diffuse the light. Small changes teach more than sweeping ones.
- One deliberate restraint: end by removing an obvious prop or color and shoot a final, quieter frame. The constraint trains editing instincts while shooting.
4. Review and iterate
After the session, spend fifteen minutes reviewing images at a modest size—not the phone screen, but not a printing workflow either. The aim is to create a short feedback loop.
- Pick one success: choose the frame that did what you intended. Note why: light direction, subject placement, color restraint, or texture.
- Pick one failure: a frame that didn’t work and why—confusing background, unsteady crop, too-flat light. Think of one small fix for next time.
- Log a short note: date the session, note the window, time, and the single tweak you’ll try next week.
Iterating in this way keeps the practice manageable. Over weeks you’ll see how small adjustments—moving the reflector an inch, swapping the fabric—change the visual answer to the same question.
Conclusion: the portable window studio is less about gear than about a repeatable conversation with light and object. By committing to a small kit, a concise shooting routine, and a brief review practice, you make steady, observable progress. The work remains quiet and practical: you arrive, you set a question for that session, you make distinct choices, and you note one takeaway. Over time those takeaways accumulate into clearer seeing and quieter photographs.