Five Small Experiments to Learn Negative Space in Everyday Photos
Question
How can I make everyday photos feel quieter and clearer by using negative space? This short studio-notes sequence breaks the skill into five small experiments you can do anywhere—indoors, on a walk, or at a café. Each test is quick, repeatable, and builds on the last.
Process: Five Experiments
-
1. Let the subject breathe (isolation)
Objective: See how much empty space a subject needs to feel isolated.
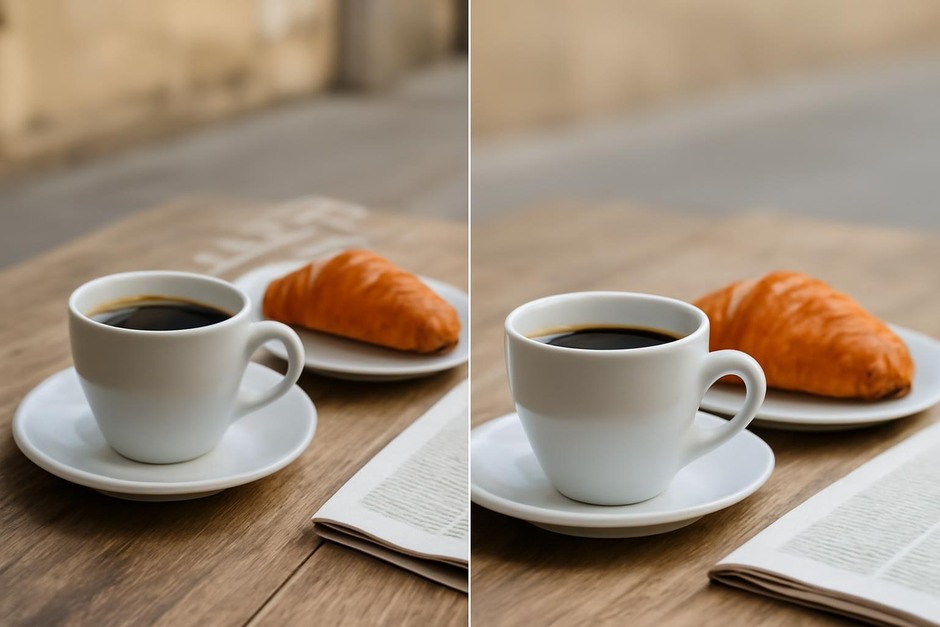
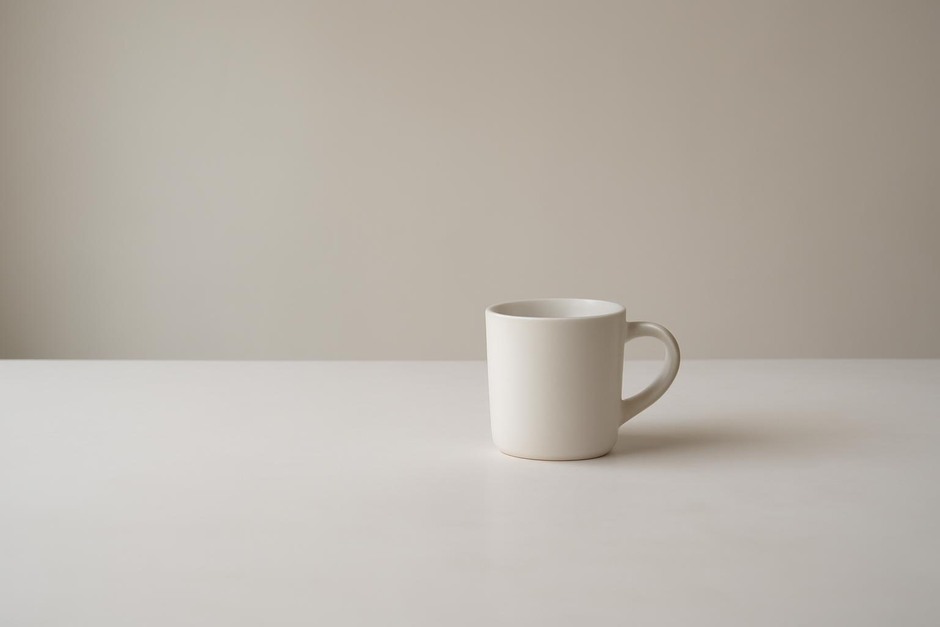
Try this: Choose a simple subject—a mug, a leaf, a bicycle wheel. Make three frames from the same distance: one that tightly crops the subject, one with a modest margin, and one with a lot of surrounding space. Keep the camera level and the same focal length if possible.
What to notice: Which frame makes the subject feel calm? Too tight can feel cramped; too wide can make the subject lost. The middle ground is often a good starting point.
-
2. Change scale to change emphasis
Objective: Use scale to make negative space feel purposeful.
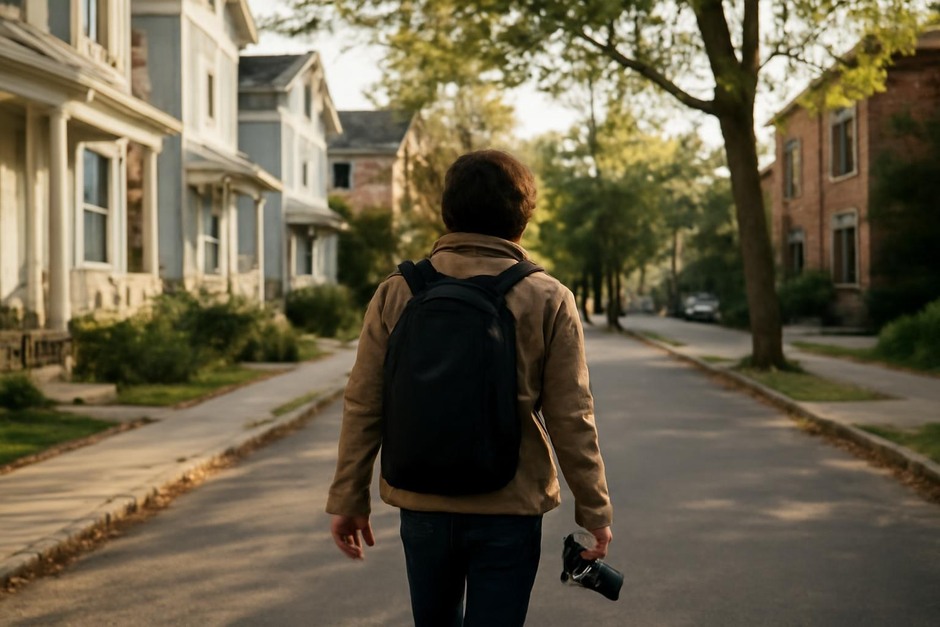
Try this: Move farther back until your subject occupies roughly a quarter or less of the frame. Take a second shot closer so it fills half the frame. Then try an extreme wide shot where the subject is a small point within a large empty area.
What to notice: Small subjects with lots of empty space emphasize atmosphere and context. Larger subjects are about detail and presence. See how emotional tone shifts with scale.
-
3. Backgrounds: plain, textured, and out-of-focus
Objective: Learn how different backgrounds affect perceived emptiness.
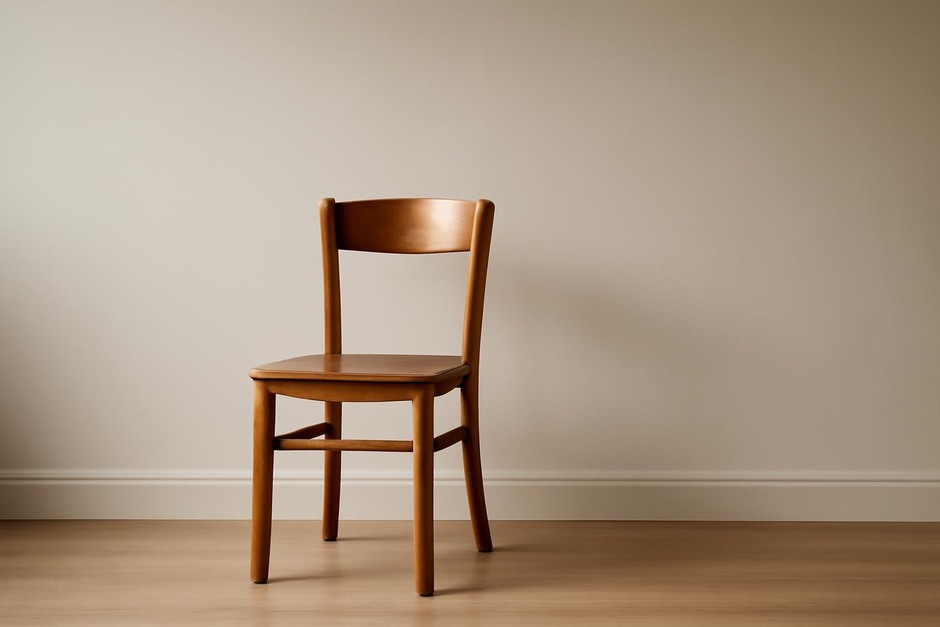
Try this: Keep the subject position constant and swap backgrounds: a plain wall, a textured surface (brick, leaves), and a background rendered soft with a wide aperture or longer lens. Maintain the same framing where possible.
What to notice: Plain backgrounds maximize negative space. Soft backgrounds keep the eye on the subject while still reading shape. Textured backgrounds can reduce the sense of emptiness, turning the frame into a relationship between subject and pattern.
-
4. Directional space and implied movement
Objective: Use empty space to suggest motion or gaze.
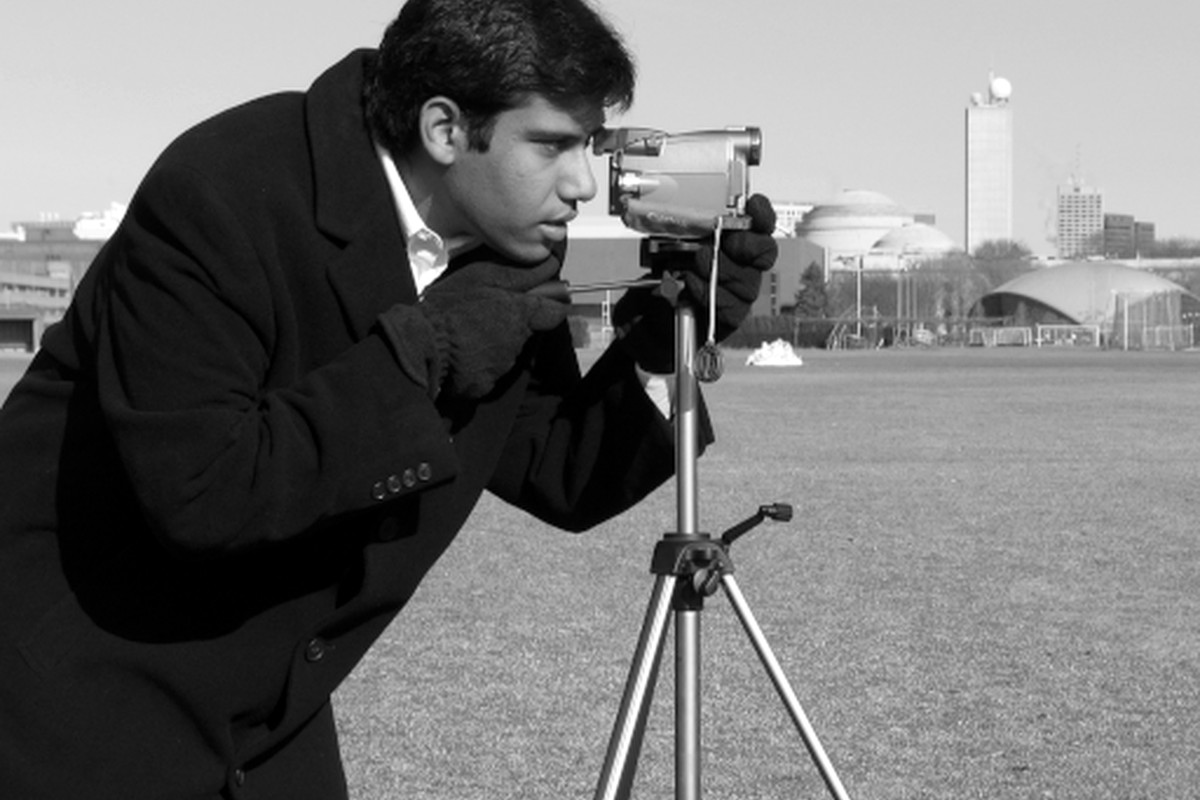
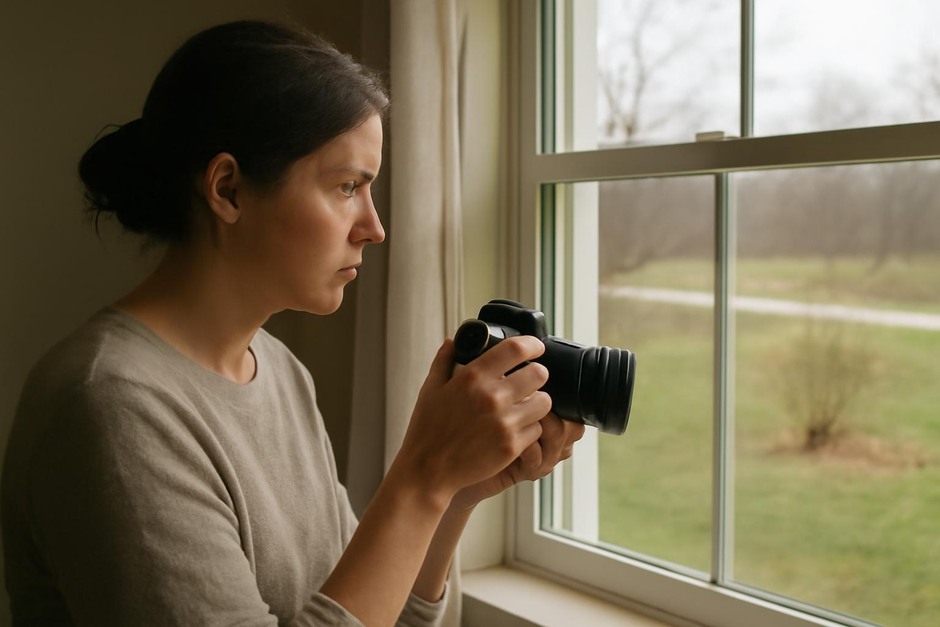
Try this: Place a person, animal, or object that implies direction (a bicycle angled right, a dog looking left) and frame so the subject faces into the empty area rather than to the edge. Take each shot with the subject centered, then off-center toward the opposite edge.
What to notice: Negative space in front of a moving or looking subject gives room to move or think. It resolves visual tension and makes the composition feel intentional.
-
5. Color blocks and tonal calm
Objective: Use large areas of similar color or tone as a form of negative space.
Try this: Find scenes where a subject rests against an expansive color field—a pale wall, a sky, a tabletop. Make frames that emphasize the color field while keeping the subject small. Also try the same scene in black-and-white if your camera allows.
What to notice: Large color or tonal blocks create a strong, simple backdrop that reads as calm. In monochrome, texture and contrast become the organizing elements instead of hue.
Quick Settings and Practical Notes
- Keep it simple: Use one lens if possible to focus on seeing rather than technical adjustments.
- Exposure: Neutral exposure is fine; avoid extreme contrast that eats negative space into silhouette unless that’s your experiment.
- Orientation: Try both portrait and landscape for each experiment—different orientations change how space feels.
Review: A Two-Week Practice Plan
Turn these experiments into habit with a short routine:
- Days 1–2: Do experiment 1 in three places—kitchen, street, window sill. Take 9 frames total and pick the calmest one.
- Days 3–6: Repeat experiments 2–4, one per day. Make at least five frames each and note the two you like best.
- Days 7–10: Revisit experiment 3 and 5 in different light (morning, noon, evening) to see how texture and color shift perception.
- Days 11–14: Choose a favorite subject and apply all five experiments in sequence. Compare how the image changes as you alter scale, background, direction, and tone.
Final Notes
Negative space is less a fixed rule and more a set of choices about emphasis, mood, and breathing room. These small, repeatable experiments are designed so you can practice in ten minutes or less and build a quiet visual habit. After two weeks you’ll begin to notice empty space before you press the shutter—and that small pause is the real skill.