Window Boxes: A Short History and Practical Guide for Small-Space Gardens
Problem
Many of us live with only a ledge, balcony rail, or sill to connect with the living world. Window boxes promise a way to green small openings, bring scent and color close to daily routines, and make passing time visible. But they can also be disappointing: plants that struggle or look tired, boxes that dry out in a week, or designs that feel fussy rather than inviting. The practical problem is simple: how to make a small container garden that is historically rooted, reliably healthy, and pleasurable to tend without demanding constant attention.
Principles
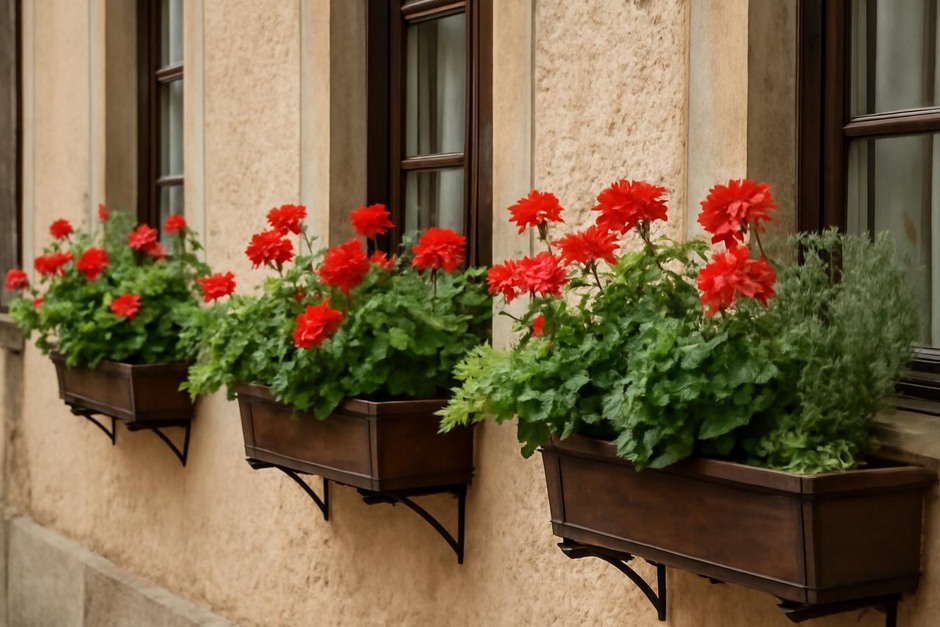
Window boxes are not just containers; they are a portable, visible form of garden making with a long history. In many Alpine and Central European towns, colorful flower boxes on balconies and window ledges became a vernacular tradition in the 18th and 19th centuries, signalling both care and an approach to plant selection suited to local climates. In the 19th century, growing urban populations and the Victorian appetite for ornament encouraged mass-produced planters and an enthusiasm for floral display. From that heritage come durable lessons you can apply today.
1. Respect scale and sightlines
Choose a box proportionate to the window and the building face. A shallow box looks fine with trailing annuals; a deeper container suits small shrubs or perennial herbs. Think of the view from the street and from inside—your composition should work at both distances.
2. Build for drainage and root health
Historically, gardeners knew not to crowd roots. Use a container with drainage holes and start with a free-draining mix—about two parts good-quality potting soil to one part coarse sand or grit for many situations. Raised soil and a liner can help prevent rot against wood sills.
3. Match plants to microclimate
Windows face varying light and wind conditions. South- and west-facing boxes need sun-tolerant, drought-tolerant plants; north- and east-facing boxes favor shade- or part-shade species. Consider wind exposure—containers dry faster and plants may need more shelter.
4. Layer for structure and ease
Use a simple formula: a structural plant (tall or upright), a filler (midsize, repeating species), and a spiller (trailing element). This creates a composed look without demanding complex plantings.
5. Think in seasons, not moments
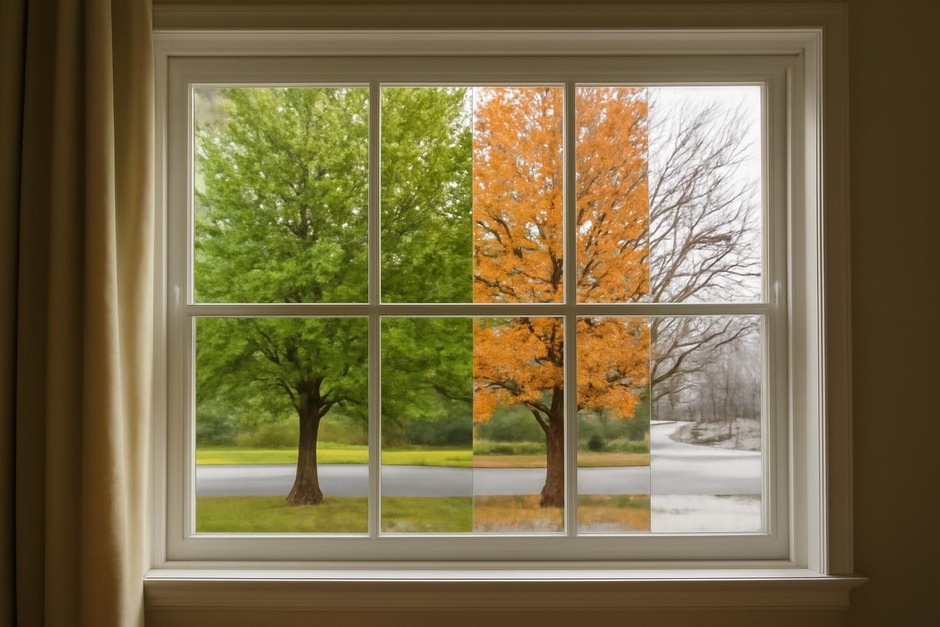
Window boxes can be arranged to offer interest across the year: bulbs in early spring, annuals and herbs in summer, and structural evergreens or ornamental kale in winter. This historical rhythm—changing the palette with the seasons—keeps a window box lively without constant replanting.
Examples
Kitchen Herb Box (south-facing, 24″ long, 6–8″ deep)
- Plants: thyme (trailing), chives (tall-ish clumper), oregano or bush basil (filler).
- Why it works: Edible, aromatic, and close to hand for cooking; herbs tolerate frequent pickings.
- Care tip: Water thoroughly when the top inch of soil is dry; pinch basil regularly to encourage bushiness.
Pollinator Sun Box (30″ long, 8–10″ deep)
- Plants: lavender (structural), cosmos or echinacea (filler), trailing santolina or thyme (spiller).
- Why it works: Lavender and sturdy summer flowers draw bees and create a low-maintenance, fragrant display.
- Care tip: Use a gritty mix, avoid overwatering, and deadhead spent blooms to extend the season.
Shaded Urban Ledge (18″ long, 6–8″ deep)
- Plants: fern or heuchera (structural), lamium or ivy (filler/spiller), hosta ‘mini’ or pulmonaria (texture).
- Why it works: Shade-tolerant combinations provide contrast of leaf color and texture where flowers are limited.
- Care tip: Keep soil evenly moist and choose species tolerant of cooler, damp conditions.
Seasonal Rotation Example
- Spring: Bulbs (tulips, crocus) paired with low pansies.
- Summer: Replace with annuals or herbs for summer color.
- Autumn/Winter: Add small evergreens, ornamental kale, and winter-flowering heathers.
Practice Checklist
- Measure window width and depth; choose a box that leaves at least 2–3″ clearance from the wall.
- Ensure drainage: verify holes and use a saucer or drip tray if needed to protect surfaces.
- Prepare soil: potting mix + grit (roughly 2:1), incorporate slow-release organic fertilizer if desired.
- Select plants for light exposure, wind, and desired function (herbs, pollinator, shade). Use the structural–filler–spiller formula.
- Install securely: attach boxes with appropriate brackets or supports; consider a liner for wooden sills.
- Water deeply at planting; thereafter water when the top inch of soil is dry (more often in heat/wind).
- Schedule small seasonal changes: bulbs in late winter, summer annuals after last frost, evergreens for winter structure.
- Spend five minutes twice a week: deadhead, trim, and check moisture—regular small acts keep the box lively.
Window boxes are an old idea renewed for modern life: they condense the pleasures of a garden into a manageable frame. With a few historically grounded principles—attention to scale, drainage, plant choice, and seasonality—you can create a resilient, expressive little garden that rewards small, regular attention.