Close-Ground Study: A Step-by-Step Method for Observing Microplants and Groundcover
A practical field routine for noticing the small lives at your feet: a step-by-step method to observe, record, and return to groundcover, mosses, and tiny plants.
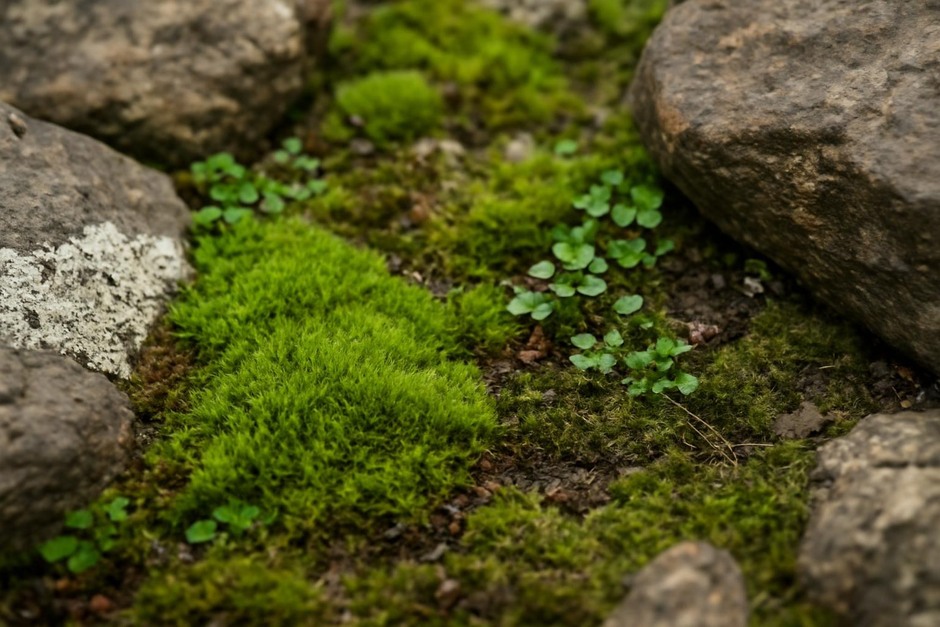
Much of the garden and natural world lives low and small. Groundcover, moss, lichens, seedlings, and tiny forbs change on a human scale of minutes to months, yet they are often passed over. This method gives you a compact, repeatable routine for paying attention to those small lives. It is built for short visits and slow walks, and it can fit into a coffee break or a weekly garden loop.
Field Method: Close-Ground Study (Step-by-Step)
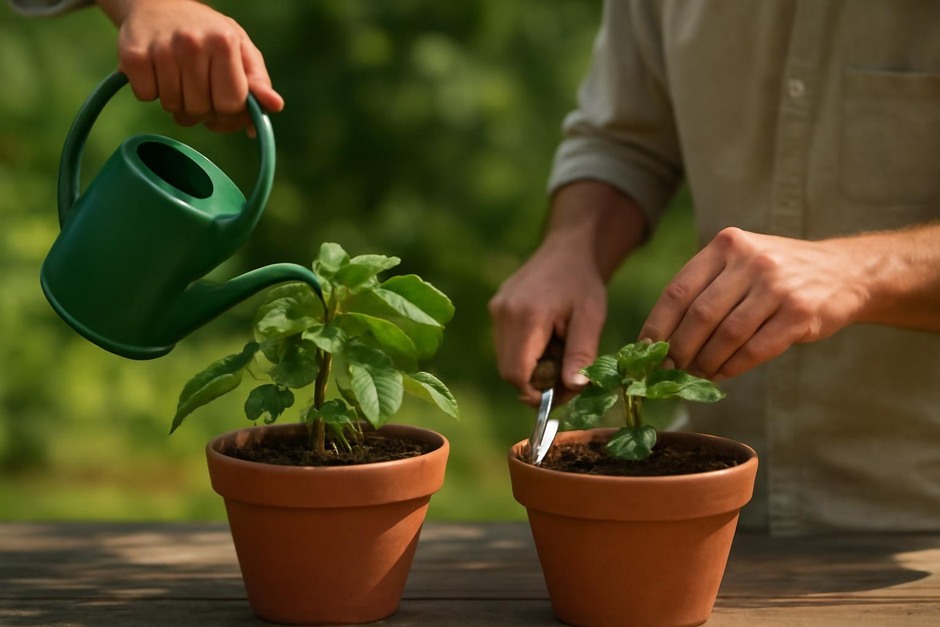
- Choose a patch. Find a 1–2 square meter patch that interests you: a strip beside a path, a courtyard corner, a stepping-stone group, or a pot with crowded seedlings. Choose something you can return to.
- Set a time box. Commit 10–20 minutes. Short, focused visits are easier to repeat than long ones. If you have more time, repeat the routine twice with a short break between rounds.
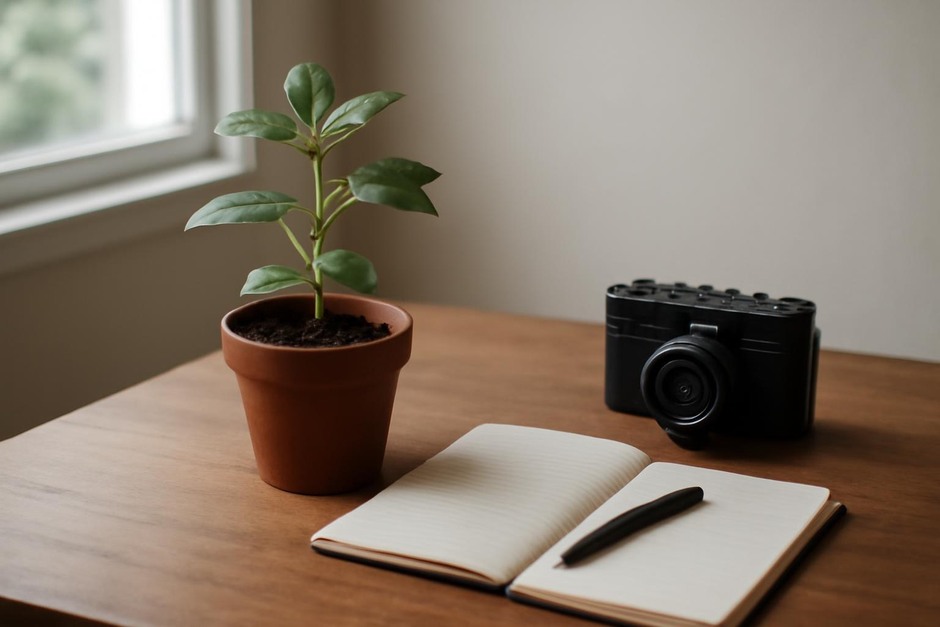
- Tools and posture. Sit or kneel for comfort. Bring a small field notebook or index card, a pen, a loupe or magnifier (10x is handy), and your phone camera set to macro or close-up mode. A small ruler (a 10 cm pocket ruler) helps record scale.
- First scan: broad to narrow (2–3 minutes). Look over the patch without interacting. Note broad patterns: colour blocks, dominant textures (velvety, spiky, glossy), recent disturbances, or damp spots. Make a quick note or sketch of the patch outline and the main textures.
- Second scan: target three specimens (5–10 minutes). Pick three small subjects—one you know, one you think you can name, and one unfamiliar. For each subject, do this micro-protocol:
- Observe: note size, shape, colour, growth habit, and relation to neighbours.
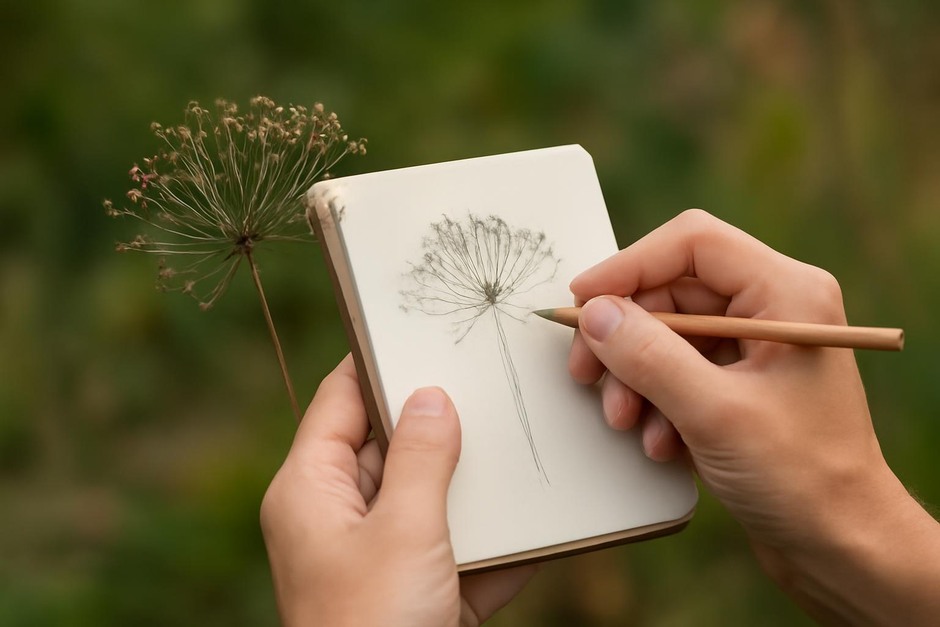
- Record: sketch a simple shape, note measurements (length of leaves, height, thickness of moss mat), and write two adjectives (for example: “silky, pale-green”).
- Photograph: take one close photo and one contextual photo including a ruler or coin for scale.
- Third scan: interactions and microhabitats (2–4 minutes). Notice relationships: where does water collect after rain? Where are seedlings established—edge of stone, bare soil, under a leaf? Note insect tracks, spore capsules, or feeding marks. Add a short sentence in your notebook about one interaction you observed.
- Rate and return note (1 minute). On a three-point scale, mark how confident you are about identifying each specimen (1 = unknown, 3 = confident). Add a follow-up note: a question, a curiosity, or a date to revisit. Close your session by noting time of day and weather—these details help build patterns over weeks.
Variations
- Rain or dew variation. Visit early in the morning or after light rain to study how water changes colour and texture. Moisture often reveals fungal threads, translucent leaves, and more vivid greens.
- Seasonal loop. Keep the same patch and repeat the routine weekly or monthly. Over months, compare notes to track phenology: seedling emergence, moss sporophytes, or summer dieback.
- Time-lapse patch. Create a simple time-lapse by photographing the same framed view weekly. Use a small corner of a stone or a marked twig as a registration point so photos align.
- Minimalist version. If you have only five minutes, do just the first scan and one specimen micro-protocol. The habit of returning is more important than exhaustive records.
- Teaching variation. Use this method with a friend or child: each person picks one specimen and shares their adjectives and a sketch. Comparing simple observations trains attention without requiring expertise.
Troubleshooting and Practical Notes
- Problem: I can’t tell species apart. Focus on habit and context rather than names. Note distinguishing features (leaf arrangement, growth form) and assign a personal label (“striped cushion moss”). Over time, these descriptive notes make identification easier.
- Problem: My photos lack detail. Use a ruler or coin for scale and steady your phone against a stone when possible. Try different angles: a top-down shot for pattern, and a side shot to show profile.
- Problem: The patch is too varied. Divide it mentally into smaller units and study one unit per visit. Alternately, choose a single reliable subject (a moss cushion or a stone crevice) and make it your anchor.
- Problem: Weather or access prevents visits. Keep a small secondary patch—anything from a pot to a pavement crack—that you can study from a window or doorstep.
- Practical tip: Index your notes. Use a running index in the front of your notebook with patch name, GPS or simple directions, and dates of visits. A short index makes it easy to revisit observations and see change.
This routine is designed so the act of noticing becomes a regular practice rather than a one-off survey. Small, repeated observations are how patterns reveal themselves: where moisture lingers, which seedlings persist, and how groundcover negotiates seasons. The point is not instant mastery but an attentive, repeatable way to learn by looking.